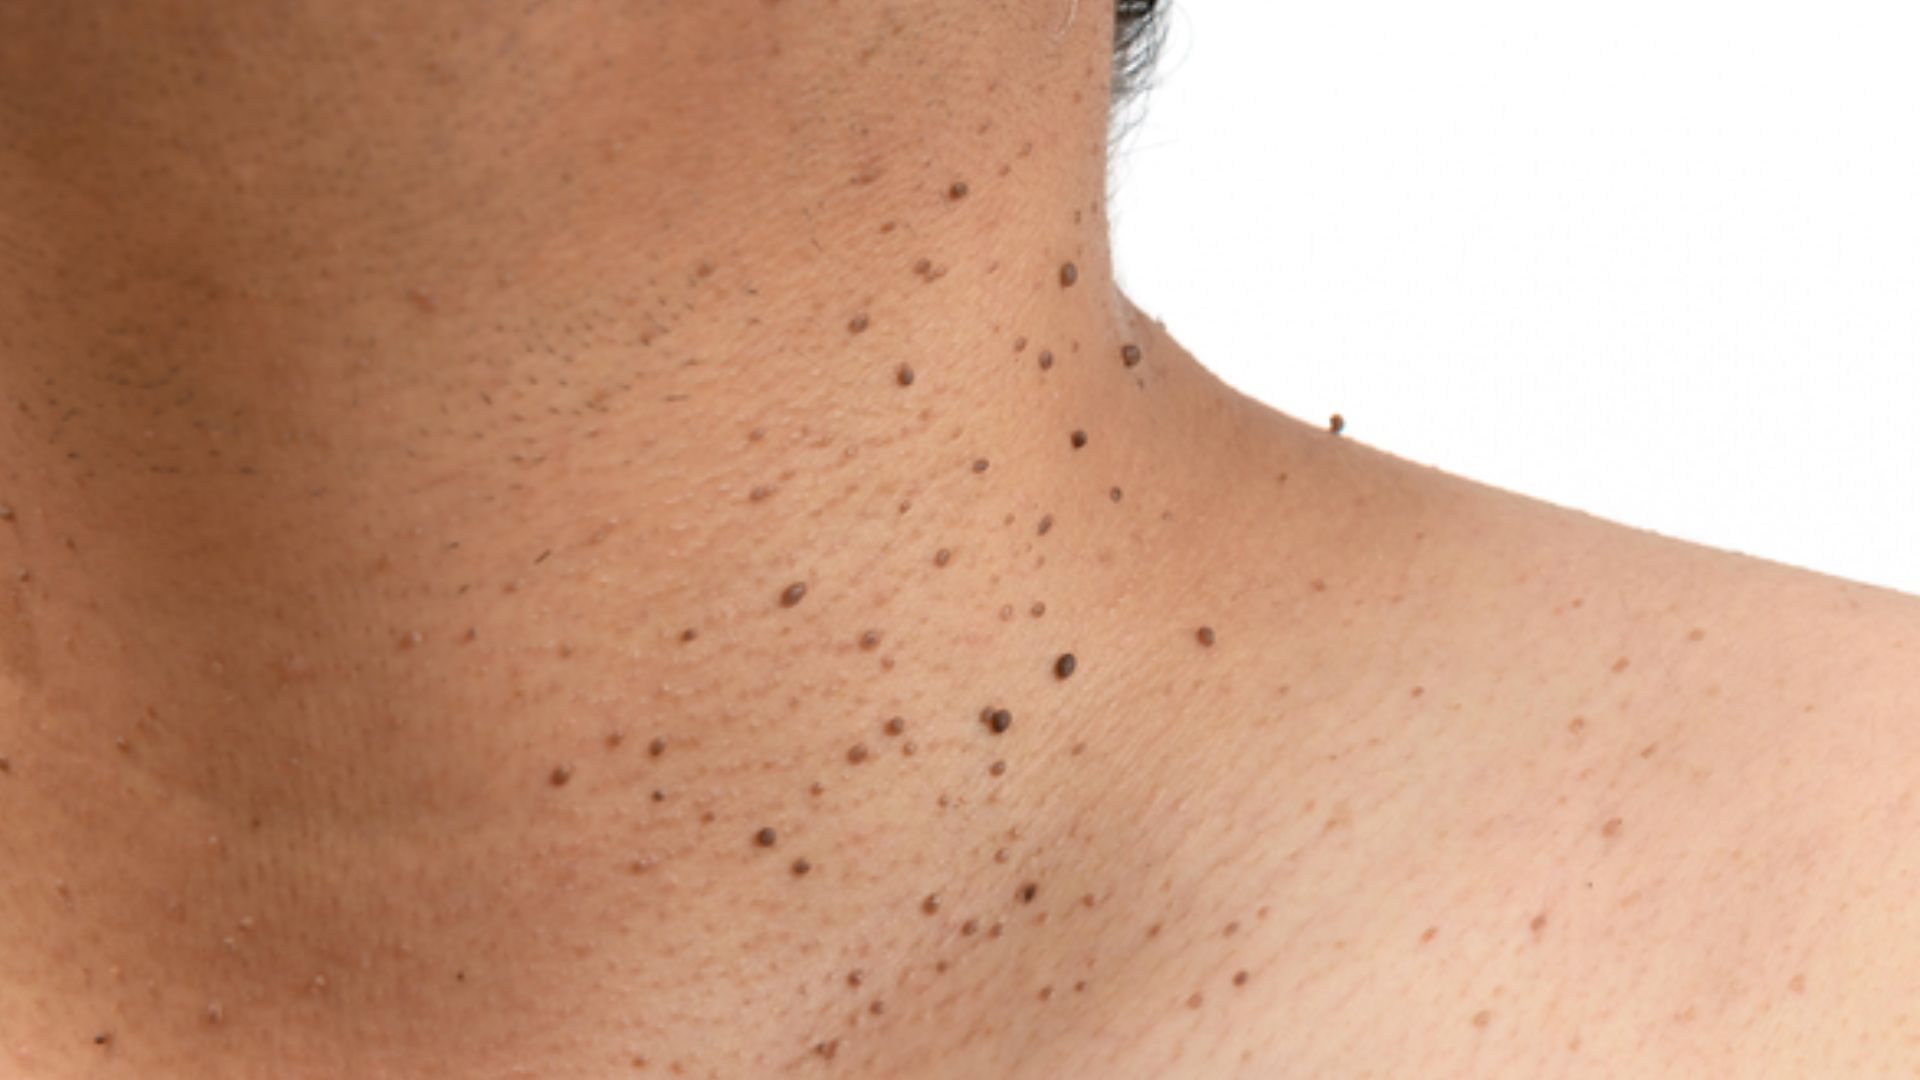
How to Remove Skin Tags: Procedures and Effects
How to Remove Skin Tags: Detailed Procedures and Potential Effects
Skin tags are small, benign growths that often appear in areas where the skin folds, such as the neck, armpits, groin, and eyelids. While they are generally harmless, some people choose to remove them for cosmetic reasons or if they become irritated.
There are various methods for removing skin tags, ranging from home remedies to medical procedures. Here, we provide a comprehensive guide on how to remove skin tags, detailing each procedure and its potential effects.
Understanding Skin Tags
What Are Skin Tags?
Skin tags, also known as acrochordons, are small, soft, skin-colored growths that hang off the skin. They are composed of collagen fibers and blood vessels surrounded by skin.
Causes of Skin Tags
- Friction: Skin tags often develop in areas where skin rubs against skin or clothing.
- Genetics: A family history of skin tags can increase the likelihood of developing them.
- Hormonal Changes: Pregnancy and other hormonal changes can trigger the formation of skin tags.
- Obesity and Diabetes: These conditions are associated with an increased risk of skin tags.
Methods for Removing Skin Tags
1. Cryotherapy
Procedure
Cryotherapy involves freezing the skin tag using liquid nitrogen. The extreme cold causes the skin tag to fall off after a few days.
Steps:
1. A healthcare provider applies liquid nitrogen to the skin tag using a cotton swab or spray device.
2. The area may be numbed beforehand to reduce discomfort.
3. The skin tag will freeze and eventually fall off within a week.
Potential Effects
Pain and Discomfort: Mild pain, stinging, or burning sensation during and after the procedure.
Blistering: A blister may form at the treatment site.
Scarring: Rarely, a scar can develop.
Temporary Skin Discoloration: The treated area may become lighter or darker.
2. Excision
Procedure
Excision involves cutting off the skin tag with a scalpel or scissors. This method is often performed by a healthcare professional.
Steps:
1. The area around the skin tag is cleaned and numbed with a local anesthetic.
2. The skin tag is carefully cut off with sterile scissors or a scalpel.
3. A small bandage or dressing is applied to the site to protect it as it heals.
Potential Effects
Bleeding: Minor bleeding may occur during the procedure.
Infection: There is a risk of infection if the wound is not properly cared for.
Scarring: Some people may develop a small scar at the site of removal.
3. Cauterization
Procedure
Cauterization involves burning off the skin tag using a small probe with an electric current (electrocautery) or a laser.
Steps:
1. The area is numbed with a local anesthetic.
2. The skin tag is burned off using a heated probe or laser.
3. A scab forms over the treated area and eventually falls off.
Potential Effects
Pain and Discomfort: Some pain or discomfort during and after the procedure.
Scarring: A small scar may form at the treatment site.
Infection: Risk of infection if the wound is not properly cared for.
4. Ligation
Procedure
Ligation involves cutting off the blood supply to the skin tag using a small string or dental floss, causing it to wither and fall off.
Steps:
1. Clean the area around the skin tag.
2. Tie a piece of string or dental floss tightly around the base of the skin tag.
3. The skin tag will shrink and fall off within a week or two.
Potential Effects
Pain and Discomfort: Mild pain or discomfort during the initial stages.
Infection: Risk of infection if the area is not kept clean.
Skin Irritation: The surrounding skin may become irritated.
5. Over-the-Counter Solutions
Procedure
There are various over-the-counter (OTC) products available that contain ingredients designed to remove skin tags.
Steps:
1. Clean the area around the skin tag.
2. Apply the OTC solution as directed, usually using an applicator.
3. The skin tag will dry up and fall off within a few days to weeks.
Potential Effects
Skin Irritation: Possible irritation or allergic reaction to the ingredients.
Incomplete Removal: The skin tag may not be completely removed and might require additional treatment.
Post-Removal Care
Regardless of the removal method, proper aftercare is essential to ensure healing and prevent complications.
General Aftercare Tips
- Keep the Area Clean: Clean the area daily with mild soap and water.
- Avoid Picking: Do not pick at scabs or the treated area to avoid scarring.
- Apply Antibiotic Ointment: Use an antibiotic ointment if recommended by your healthcare provider.
- Monitor for Signs of Infection: Watch for redness, swelling, pus, or increased pain, and seek medical attention if these occur.
Conclusion
Removing skin tags can be done through various methods, each with its own set of potential effects and aftercare requirements. While home remedies and over-the-counter solutions may be suitable for some, professional medical procedures such as cryotherapy, excision, and cauterization offer more reliable results.
It’s essential to choose the method that best suits your needs and to follow proper aftercare to ensure a smooth healing process. If you are unsure about removing a skin tag or experience any complications, consult with a healthcare professional for advice and treatment.
Continue reading: 10 Anti-Inflammatory Foods To Include In Your Diet